지난 번에는 인스턴스의 리소스 등의 설정을 하드코딩하여 인스턴스를 생성했었다.
하지만 실제 사용하다 보면 인스턴스를 여러 개 생성해야 할 수도 있는데, 그 때마다 새로운 프로젝트와 새로운 main.tf를 생성하여 인스턴스를 생성할 수는 없다.
그래서 이번에는 terraform에 변수를 사용하여 인스턴스를 생성하는 방법을 알아보았다.
지난 번에 사용했던 디렉토리로 들어 가 main.tf 옆에 variables.tf 파일을 생성 해 아래와 같이 파일 내용을 작성한다.
1
2
3
4
5
6
7
|
# variables.tf

variable "instance_name" {
  description = "Value of the Name tag for the EC2 instance"
  type        = string
  default     = "ExampleAppServerInstance"
}
|
구문을 분석 해 보면 아래와 같다.
1
2
3
4
|
variable "instance_name" : 변수 명
description = "Value of the Name tag for the EC2 instance" : 변수에 대한 설명
type        = string : 변수의 타입
default     = "ExampleAppServerInstance" : 변수의 값이 지정되지 않을 경우 사용 할 default 값
|
variables.tf의 작성을 완료했다면 다시 main.tf로 돌아 가 가장 마지막줄의 Name = "ExampleAppServerInstance"를 Name = var.instance_name 으로 변경한다.
 1
 2
 3
 4
 5
 6
 7
 8
 9
10
11
12
13
14
15
16
17
18
19
20
21
22
23
24
|
# main.tf
terraform {
  required_providers {
    aws = {
      source  = "hashicorp/aws"
      version = "~> 4.16"
    }
  }

  required_version = ">= 1.2.0"
}

provider "aws" {
  region  = "us-west-2"
}

resource "aws_instance" "app_server" {
  ami           = "ami-830c94e3"
  instance_type = "t2.micro"

  tags = {
    Name = var.instance_name
  }
}
|
따라서 위의 설정대로라면 인스턴스 생성 시 Name 태그에는 instance_name의 값이 들어 갈 것이며, 해당 값이 따로 설정되지 않을 경우 인스턴스의 Name 태그는 ExampleAppServerInstance가 된다.
만약 따로 instance_name의 값을 지정한다면 해당 값이 Name 태그에 들어가게 될 것이다.
이제 terraform apply를 통해 작업 내용을 적용하면 되는데, 지난 번 생성 한 인스턴스가 아직 남아있는 상태라면 아래와 같이 아무 변경사항이 없다고 나온다.
1
2
3
4
5
6
7
8
|
$ terraform apply
aws_instance.app_server: Refreshing state... [id=i-xxxxxxxx]

No changes. Your infrastructure matches the configuration.

Terraform has compared your real infrastructure against your configuration and found no differences, so no changes are needed.

Apply complete! Resources: 0 added, 0 changed, 0 destroyed.
|
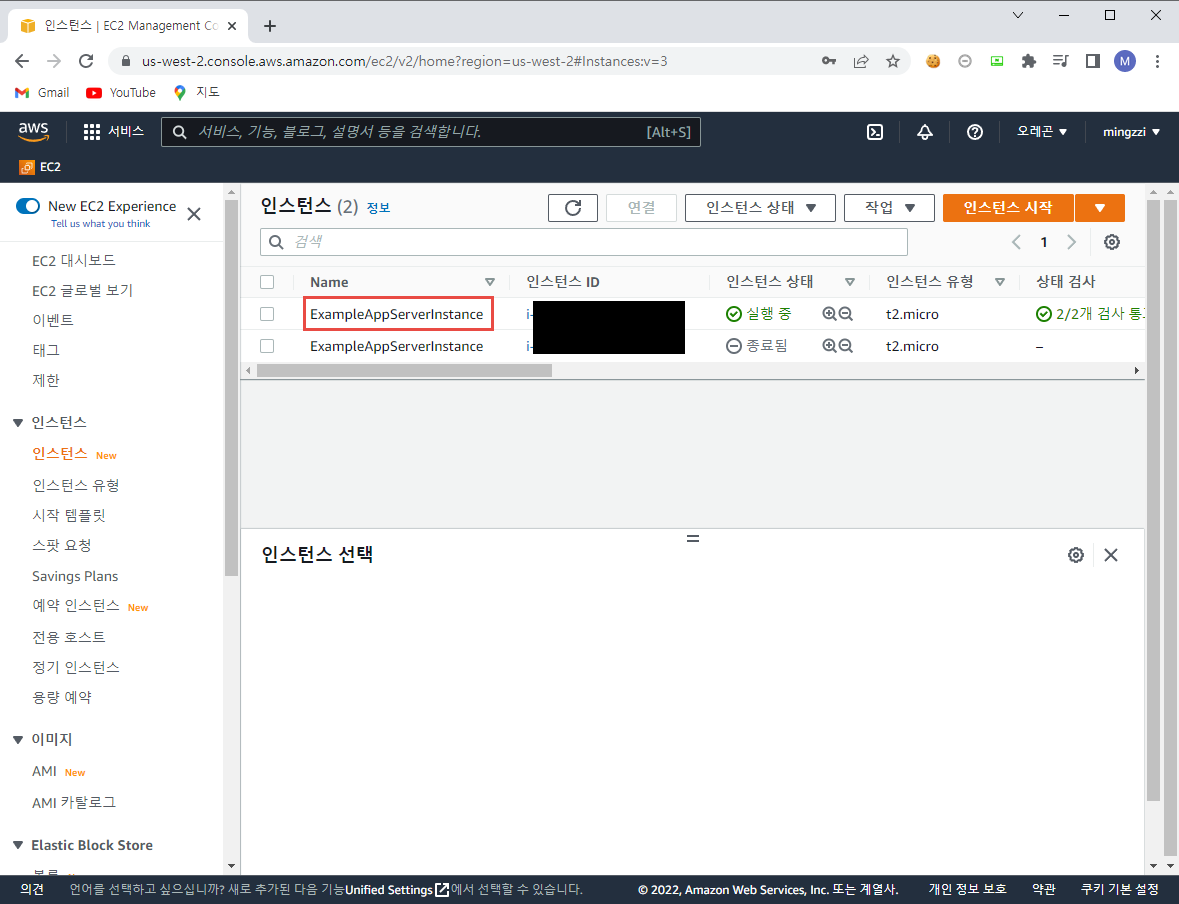
이제 변수를 활용하여 기존에 있는 인스턴스의 이름을 변경 해 보려 한다.
먼저 지난 번 생성해두었던 인스턴스의 Name 태그에는 ExmapleAppServerInstance라고 되어 있다.
Name 태그의 값을 변경하기 위해 아래와 같이 terraform apply 시 변수 명을 적어준다.
 1
 2
 3
 4
 5
 6
 7
 8
 9
10
11
12
13
14
15
16
17
18
19
20
21
22
23
24
25
26
27
28
29
30
31
32
33
34
35
36
37
38
39
|
$ terraform apply -var 'instance_name=YetAnotherName'
aws_instance.app_server: Refreshing state... [id=i-xxxxxxxx]

Terraform used the selected providers to generate the following execution plan. Resource actions are indicated with the following symbols:
  ~ update in-place

Terraform will perform the following actions:

  # aws_instance.app_server will be updated in-place
  ~ resource "aws_instance" "app_server" {
        id                                   = "i-xxxxxxxx"
      ~ tags                                 = {
          ~ "Name" = "ExampleAppServerInstance" -> "YetAnotherName"
        }
      ~ tags_all                             = {
          ~ "Name" = "ExampleAppServerInstance" -> "YetAnotherName"
        }
        # (28 unchanged attributes hidden)


        # (6 unchanged blocks hidden)
    }

Plan: 0 to add, 1 to change, 0 to destroy.

Do you want to perform these actions?
  Terraform will perform the actions described above.
  Only 'yes' will be accepted to approve.

  Enter a value: yes

aws_instance.app_server: Modifying... [id=i-xxxxxxxx]
aws_instance.app_server: Modifications complete after 2s [id=i-xxxxxxxx]

Apply complete! Resources: 0 added, 1 changed, 0 destroyed.
|
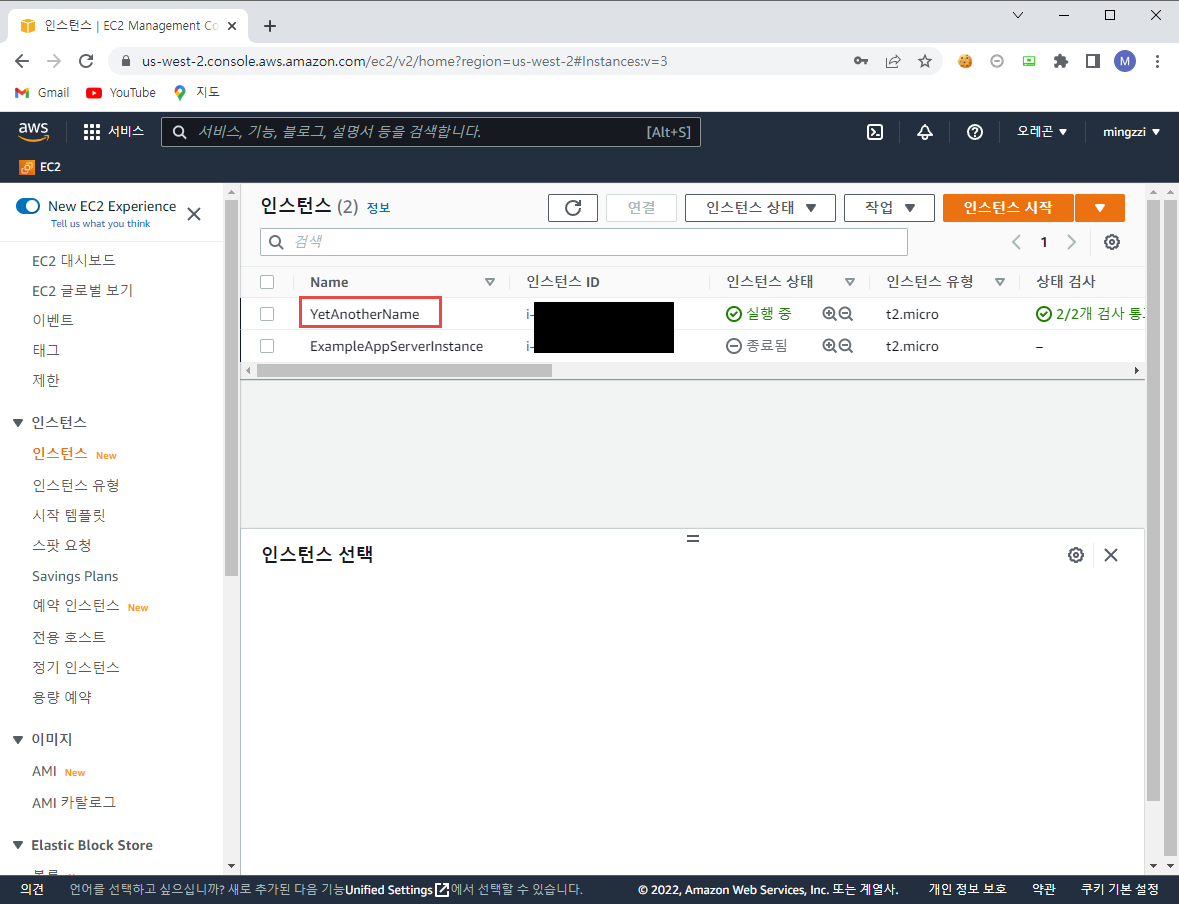
위와 같이 Name 태그의 값이 변경된다고 나타나고, Enter a value: 옆에 yes를 입력 해 주면 해당 내용이 적용된다.
AWS 콘솔에서도 확인 결과 이름이 변경 된 것을 확인할 수 있다.
위에서 변수를 입력하는 방법을 알아봤으니, 이번에는 출력하는 방법을 알아보려 한다.
동일한 폴더에 outputs.tf 파일을 아래와 같은 내용으로 생성한다.
1
2
3
4
5
6
7
8
9
|
output "instance_id" {
  description = "ID of the EC2 instance"
  value       = aws_instance.app_server.id
}

output "instance_public_ip" {
  description = "Public IP address of the EC2 instance"
  value       = aws_instance.app_server.public_ip
}
|
구문을 분석 해 보면 아래와 같다.
1
2
3
|
output "instance_id" : instance_id 라는 변수 명으로 출력
description = "ID of the EC2 instance" : 변수의 설명
value       = aws_instance.app_server.id : 변수의 값은 aws_instance.app_server(내가 main.tf에 지정 한 리소스의 타입과 이름)의 id
|
이를 확인하기 위해 아래와 같이 terraform apply를 해 보았다.
 1
 2
 3
 4
 5
 6
 7
 8
 9
10
11
12
13
14
15
16
17
18
19
20
21
22
23
24
25
26
27
28
29
30
31
32
33
34
35
36
37
38
39
40
41
42
43
44
45
46
47
48
|
$ terraform apply
aws_instance.app_server: Refreshing state... [id=i-xxxxxxxx]

Terraform used the selected providers to generate the following execution plan. Resource actions are indicated with the following symbols:
  ~ update in-place

Terraform will perform the following actions:

  # aws_instance.app_server will be updated in-place
  ~ resource "aws_instance" "app_server" {
        id                                   = "i-xxxxxxxx"
      ~ tags                                 = {
          ~ "Name" = "YetAnotherName" -> "ExampleAppServerInstance"
        }
      ~ tags_all                             = {
          ~ "Name" = "YetAnotherName" -> "ExampleAppServerInstance"
        }
        # (28 unchanged attributes hidden)


        # (6 unchanged blocks hidden)
    }

Plan: 0 to add, 1 to change, 0 to destroy.

Changes to Outputs:
  + instance_id        = "i-xxxxxxxx"
  + instance_public_ip = "1.2.3.4"

Do you want to perform these actions?
  Terraform will perform the actions described above.
  Only 'yes' will be accepted to approve.

  Enter a value: yes

aws_instance.app_server: Modifying... [id=i-xxxxxxxx]
aws_instance.app_server: Modifications complete after 2s [id=i-xxxxxxxx]

Apply complete! Resources: 0 added, 1 changed, 0 destroyed.

Outputs:

instance_id = "i-xxxxxxxx"
instance_public_ip = "1.2.3.4"
|
terraform apply 시 따로 instance_name을 지정 해 주지 않았기 때문에 Name 태그의 값이 default 값인 ExampleAppServerInstance로 변경된다.
Plan 종료 후 outputs.tf에 지정한 값들이 출력 된 것을 확인할 수 있다.
(변수의 결과 값들은 내가 임의로 변경 한 것이다.)
변경사항을 적용하기 위해 Enter a value: 옆에 yes를 입력하면 변경사항이 적용되고, 마지막으로 변수의 값이 출력되는 것을 확인할 수 있다.
terraform으로 생성 한 여러 인프라를 연동하는 등 관리할 때 이러한 방식으로 변수를 생성하고 사용할 수 있다.
또한 변수는 아래와 같이 terraform outout 명령어로도 확인할 수 있다.
1
2
3
4
5
|
$ terraform output
instance_id = "i-xxxxxxxx"
instance_public_ip = "1.2.3.4"
$ terraform output instance_id
"i-xxxxxxxx"
|
이렇게 terraform의 마지막 튜토리얼까지 완료했다.
사실 하나 더 있는데, 그건 Terraform Cloud를 사용하는 방법이라 계정을 생성해야 했다.
그래서 튜토리얼 영상만 보고 직접 실습 해 보지는 않았다 ㅎㅎ
암튼 간단한 기능만 직접 사용 해 보았는데, 너무 편하고 왜 회사들이 IaC를 중요하게 생각하는지 알 것 같다.
이제 튜토리얼을 끝냈으니 documentation 보면서 어떤 기능이 있는지 살펴보고 더 공부해야겠다!